When I went to Henley last month, I also visited a couple of old local churches. One of these was at
Wootton Wawen. The exterior of the church has continued to evolve since it was first built so the original form is hidden, but it has a an area withn the church which is Saxon. This is used for an historical display about the area including some great pictures of how the village and church probably looked at various points in history. Well worth a 10 or 20 minute visit if you are in the area - they also sell a nice little booklet.
I also went to the church at Morton Bagot. This is a Warwickshire hamlet which has never been large. The church has remained almost untouched since the 13th century. There is a description of its history and likely alterations in the very useful
British History Online site.
The first thing that struck me was how small the church is. Building most churches in actual 15mm scale (roughly 1:120 or 1:100) results in a very big building but I thought this one would probably work on a table. The description in the above link gives the width and length. I had to try to calculate the height from the photos. Even though the church was quite small, as there is evidence that it was slightly extended in the past I took this as licence to make it slightly shorter than it is now.
View approaching the west end of the church. It is on a spur which also seems to have been built up into a mound. The belfry is only a couple of hundred years old!
The south side of the nave. Some rendering is on the wall next to the (relatively recent) porch. The land on this side has built up by over a metre. This may have been the effect of centuries of burials as I believe the south was the favoured side although there are actually burials around all faces of the church.
The east wall. You can see how much higher the land is here. It could be the original level. However, about 10 metres to the south the land drops vertically by 5 or so metres where there are farm buildings and the driveway to another farm which I think is on the site of the old manor - you can see its earthworks from the church.
Note how there are no buttresses along the length of the south wall.
The north wall.
The buttresses were apparently added sometime after the church was built. There is a noticeable lean on this wall which they guard against. What I was pleased to see was the rendering here. It has obviously been painted using modern materials but it gives a good idea of how many medieval buildings - including castles - once looked. We are so used to imagining them as hulking grey bastions that it is difficult to picture the effect of rendered walls. How frequently they would get limewashed is another matter but I suspect many churches would get the treatment as a priority. The render itself could also be very pale once dry. The reddish stones of the mullions are exactly the same as used at my local abbey - I know because the chief archaeologist gave me a piece as a momento when I worked on the dig there.
As an experiment, I had a go at using Google's CAD, Sketchup. There is a program called Pepakura which will convert a CAD design into the net for making a paper model. This wasn't really necessary for a simple design like this church, but it might be useful one day for me.
I used this as a maquette for making the church using plastic card and a stuff which I think is called Depron. I bought it last year from Antenociti's Workshop for something else and never used it. It is a thin polystyrene foam which cuts easily but can have detail etched in quite easily.
The first attempt came out quite well but I wasn't happy with the height. It could well be right, but it is one of those instances where something which is right looks wrong. We are so used to looking up at a church roof that the angle looks foreshortened.
I then thought I would see how it looked in roughly 10mm scale (about 1:180). This came out quite well, though I rushed the window details a bit. I haven't painted it, but I think I might take it if I enter any more competitions with a Medieval army.
That should have been the end of it, especially as I had to get my Flemish finished for Britcon but I thought I'd have one more go, especially as I'd got used to working with Depron.
These are the main pieces cut to size. The walls are plastic card with a layer of Depron on top. The windows are cut out of the Depron to reveal the plastic card. Stone work is etched around the doors and windows.
I used Green Stuff to make the window details and doors. I had only used Milliput before and had assumed that Green Stuff would be reasonably similar. However, as I'd just bought some Green Stuff on impulse I thought I'd give it a go. I found it was much better for this kind of work - it is stickier which means that it stays where you put it (as long as it doesn't stick to your knife!) Putting the metal work on the doors took very little time and I was pleased with my results with this being my first effort.
I hadn't intended to put on the buttresses; the church was built without them and I thought they'd be awkward. Howver, I experimented by using some blue foam which I have. Stone work was carved in and all in all it didn't take a long time. The render is simply tile grout mixed with some ivory coloured paint.

This is the finished article. Rather than the Georgian belfry I put on a stone equivalent as found on various other old churches. I also had a go at giving it a thatched roof - I was surprised to find that not only was it very common in smaller churches but that some English churches are still thatched. I thought of using the various methods described on a number of websites and experimented by etching into the Depron roof and using short static grass. However, pictures of most European thatched buildings show very little texture. I did think that it could be another of those things where you show something as you expect it to be, rather than as it is, but I thought I would go with a different method. This is made out of grey felt, wrapped under the plastic card roof to give depth.

A second layer of felt was used for the apex. I wondered how to do the ties across the roof but luckily I had bought some very thin florist wire. It was cut into lengths which could then be poked into the felt.
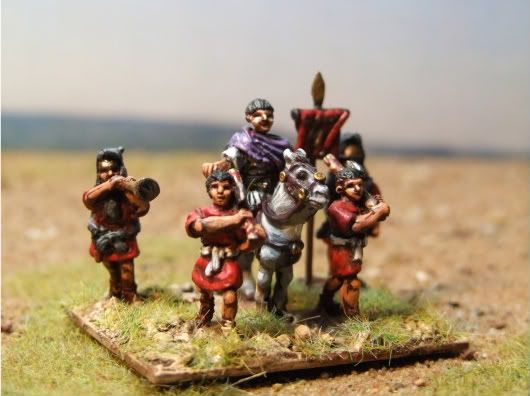
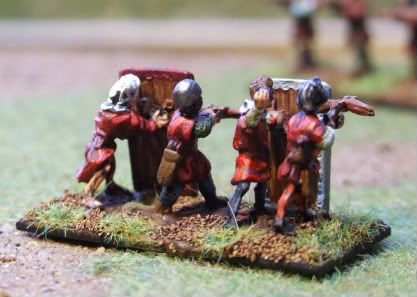
The religious chaps celebrating and consecrating the new construction are Donnington, left over from the Papal project.
I have some crosses and headstones so I will probably make a small base - perhaps a low mound with a graveyard, some kind of boundary and perhaps a yew tree.
 It is one of the only remaining sizeable bits of marsh in the Midlands which isn't simply part of a floodplain. It is formed as run off from the nearby hills with the local geology preventing it from draining. There is reckoned to be about 5 foot depth of peat which has accumalated. Man has left his mark on the environment especially through the collection of wood. This has been going on for hundreds and perhaps thousands of years - pre-Roman settlement is known in the area. Without human intervention, wetland in this area tends to be wooded with trees such as alder surrounding numerous bodies of open water. As well as being used for things like clogs, in post-medieval times alder was one source of charcoal for gunpowder making.
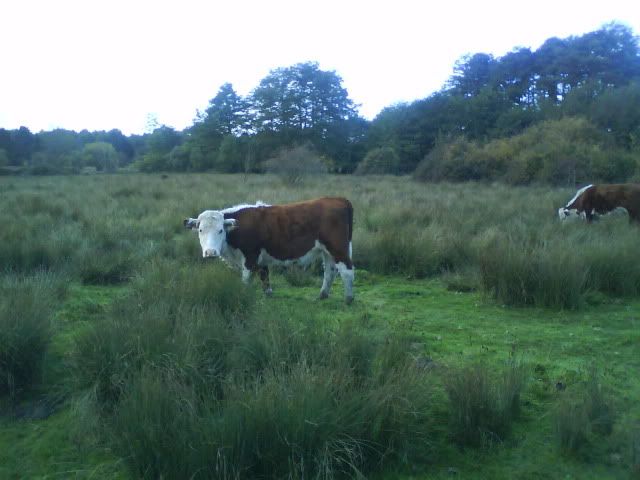


 There are a couple of sizeable areas of open water surrounded by pretty dense reeds and bulrushes. Much of this is pretty tall.
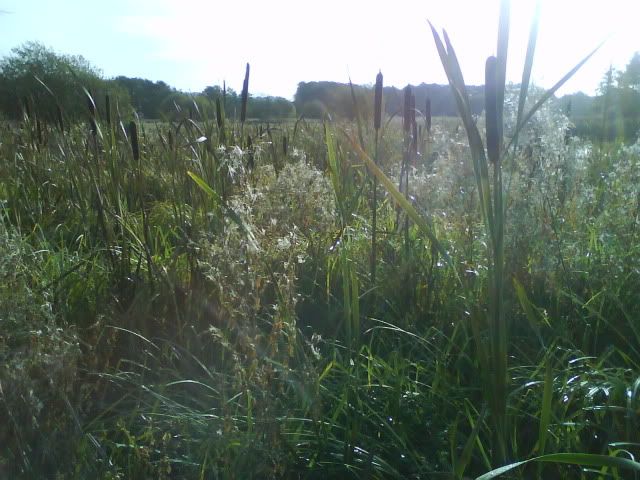


.jpg)